For some of us living in northern (or extreme southern) latitudes, winter photography can be more challenging than simply adding an extra wind breaker, it can be downright life threatening. Sitting and watching the aurora dance overhead while sipping hot cocoa, while an alluring fantasy, is far from the reality. Many times we find ourselves up in the wee hours standing in a wind-blown field with temps reaching -20 F or colder for hours, without hot chocolate, frantically trying to adjust camera settings while at the same time trying to minimize how long our fingers are exposed to the toxic air. This is by no means a cold weather photo survival guide, but a list of things I have found that help keep your camera running and your fingers attached. Even seasoned cold-weather photographers may find something they hadn’t heard about, and be sure to share what you do in the cold in the comments below.
1) Keep spare batteries in your pocket (close to your body)
Most electronics don’t like cold, especially battery operated ones. Cameras will eat up a battery much faster as the mercury drops, which often means carrying multiple spares for your freezing camera. Don’t leave those batteries in your camera bag though, stick them in your pockets the closer to your body the better that way you always have warm fresh batteries. You can often eke out a few more shots on a battery by repeatedly warming them up with your body and sticking them back in the camera.
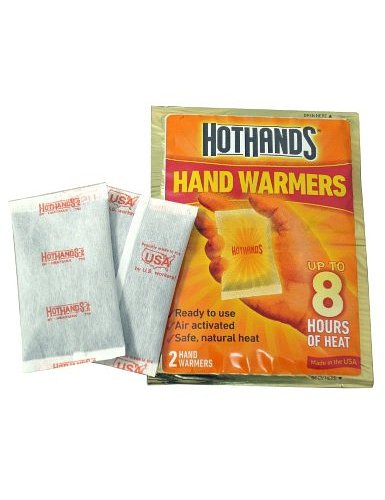
2) Stick a hand warmer under the camera battery door
I like to keep some of these guys around not only for myself, but also for the camera. They can be great when you need to keep a single battery going for as long as possible (long exposure or time-lapse). I stick the hand warmer underneath the battery door and then wrap a rubber band around to hold it in place, simple and effective. I have gotten an extra hour out of a battery by doing this.
3) Use moleskin
Contact frostbite by touching an item that is already cold is one of the fastest acting cold injuries. In order to protect your face while composing your shot against the camera viewfinder, try adding moleskin to the areas you touch, the kind backpackers use to keep away blisters.
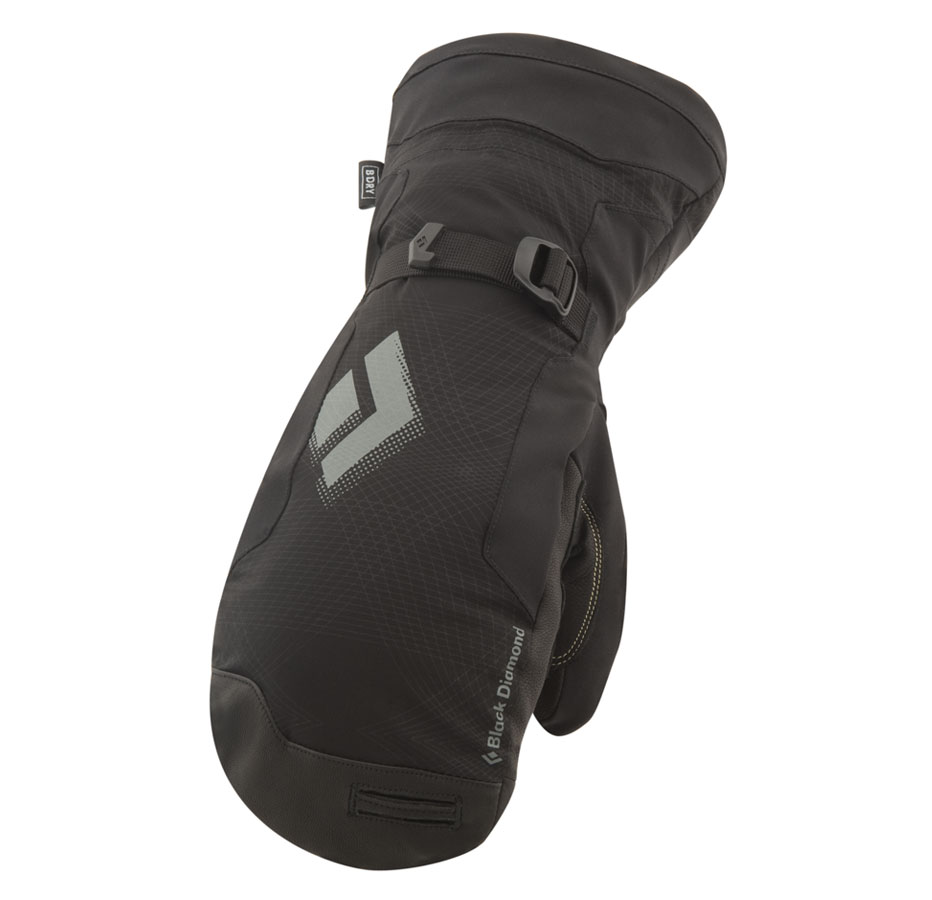
4) Use mittens with a set of small liners
Mittens come in a variety of styles; the only ones I have found that have enough dexterity not to annoy me have leather palms. I use a pair of Black Diamond Mercury mitts and find them to be very warm (used in -60 F) and due to their internal design, very dexterous. A good set of mittens will allow your hand to warm itself up much quicker with frequent hand removal than a glove. In order to help your hand while outside the mitten and to keep steam from rising off your hand and fogging your lens, I like to use a small wool or synthetic liner glove like these ones made by Mountain Hardware. This allows me to work the camera for short periods of time and then quickly put my mittens back on to warm up. The nice thing about mittens is you can have a hand warmer inside them warming up your fingers and not your palms.
5) Hold your breath
Not the whole time but every time you put your head close to your camera. Any warm moisture that escapes your lips will freeze to the first cold thing it hits, which will be your lens or viewfinder. This can be real bummer, and possibly stop you whole photo session until you can clear it away.
6) Minimize Live View
Most modern DSLRs have live view now, this can be great for setting up composition and achieving critical focus while keeping your face and breath away from the camera, however, it eats up the battery. So no need to not use it, just don’t spend overly long in this mode, or spend too long reviewing your images on the LCD.
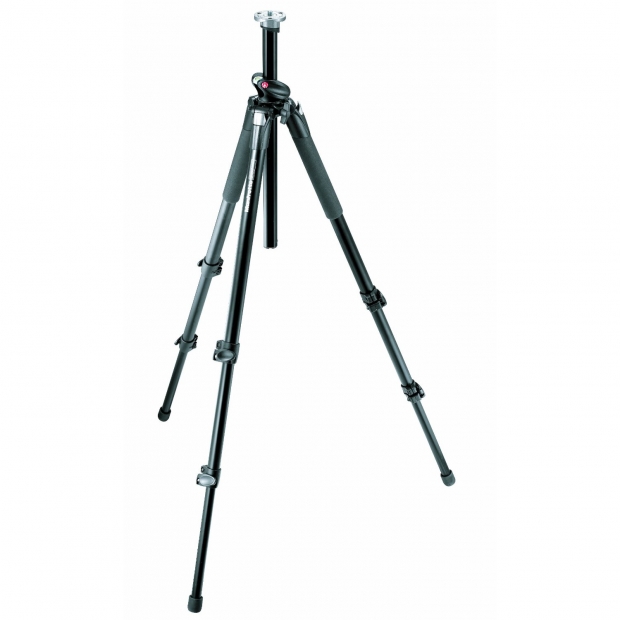
7) Wrap your tripod legs in pipe foam
Tripods are an essential tool for night and landscape photography; I use my trusted Manfrotto 055XPROB and have come to love one of its features. Two of the legs are covered in rubber/foam where you hold onto it. This keeps you from touching the ice-cold tripod metal. Don’t fret, this can easily be added to any tripod for a few bucks using standard pipe foam. And if looks are your thing, just remove the pieces when summer comes around so people won’t laugh at you.
8) Use a wrapper (for the camera)
Before you go back inside a warm area, take the time and put your camera inside a waterproof barrier. I like to use a pelican case, however a simple plastic bag can be all that you need. Place the camera inside and forget about it for a few hours. You need to let the camera reach room temperature (or close to) before opening the barrier. This is because as the cold camera enters a warm body of air, all the moisture in the air will freeze onto the camera later melting and getting on the sensor and other sensitive electronic parts inside possibly damaging them. If waiting a few hours is too long before seeing your photos, it is for me, take the memory card out before going inside and place it in a ziploc by itself. This allows the memory card to warm up in a matter of minutes not hours.

